 To my surprise,
the blue paint started wrinkling and cracking the undercoat. I muttered while I
was envisioning wiping it all off and starting over, and then noticed that the
crackling was pretty even. Hmm... Hey, not bad...
To my surprise,
the blue paint started wrinkling and cracking the undercoat. I muttered while I
was envisioning wiping it all off and starting over, and then noticed that the
crackling was pretty even. Hmm... Hey, not bad...Crackle Painting Effects Boxes (or anything else!)
In painting some effects boxes I had one of those happy accidents that turn up something that works out well. I followed my normal practice in painting boxes - degrease with acetone, two coats of gray sandable primer, followed by a base coat of Rustoleum "Hard Hat" white. I needed some blue paint, and instead of the hardware store I wound up at an auto parts place and picked up a can of light metallic blue and on a whim, a can of red. I baked the primer before the "hard hat" and then baked the white coat on in my trusty toaster oven ($7, Goodwill). After they cooled, I spritzed on the metallic blue.
To my surprise,
the blue paint started wrinkling and cracking the undercoat. I muttered while I
was envisioning wiping it all off and starting over, and then noticed that the
crackling was pretty even. Hmm... Hey, not bad...
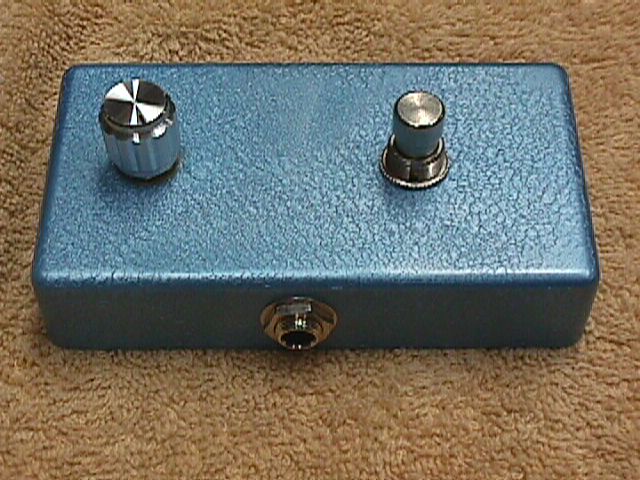
When the blue dried, it was pretty even over the whole surface, and it really didn't look all that bad. A couple of coats of automotive "clear coat" and the surface was crackled under a glaze. Nice.
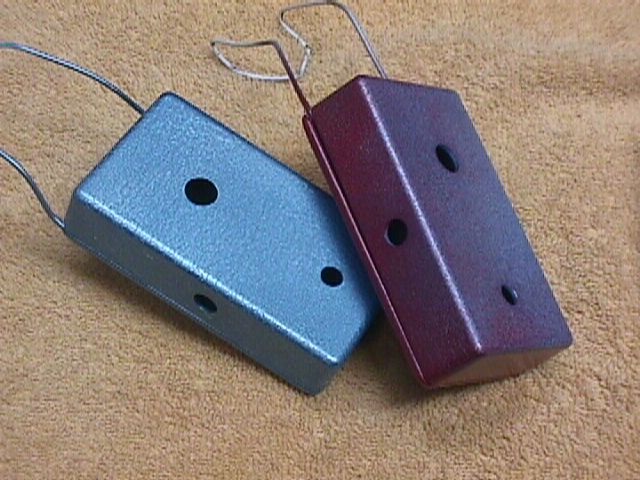
Eyeing the second box with bad intent, I misted down the sides with red and gave the top and bottom a very light mist with red. The result is the box on the right. Crackled, but with red to blue shading. Now some clear coat on it... hmmm... nice again!
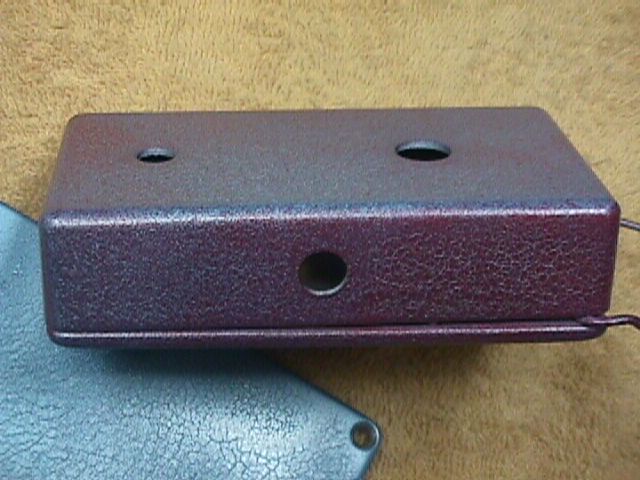
 You can see some
of my shop practice in the pictures. To paint a box, I first unscrew the bottom
plate holders a bit and stick in a "U" of old coathanger wire that I
then clamp down with the bottom holder screws. This gives me a handle to work
with as I spray.
You can see some
of my shop practice in the pictures. To paint a box, I first unscrew the bottom
plate holders a bit and stick in a "U" of old coathanger wire that I
then clamp down with the bottom holder screws. This gives me a handle to work
with as I spray.
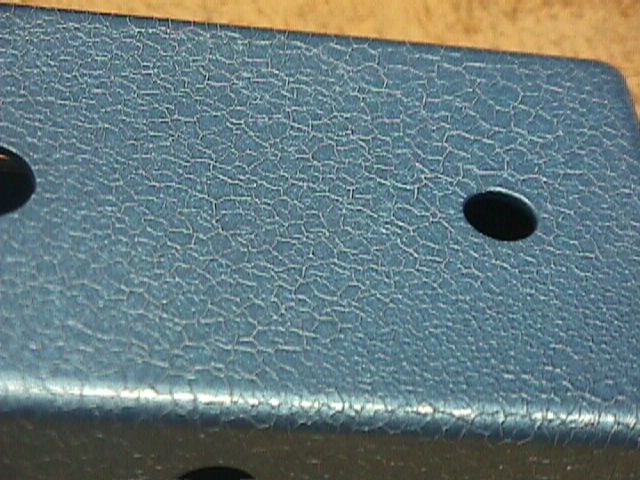
In this one, you get a close up of the surface - kind of random alligator-ish. The clear coat improves the looks, and if you wanted to keep spraying coats of clear, you'd get a really deep, crystalline effect.
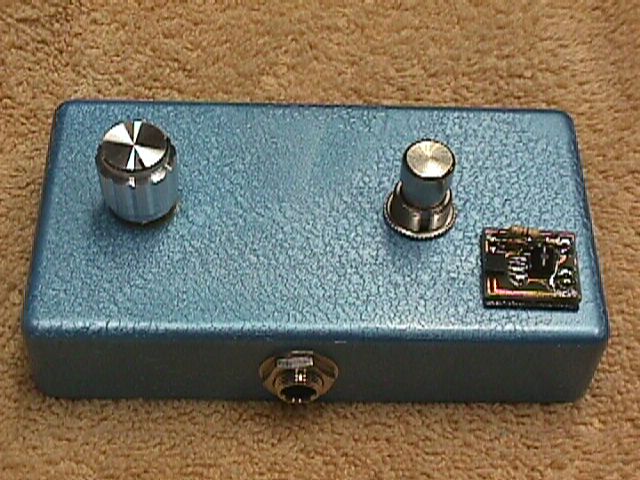
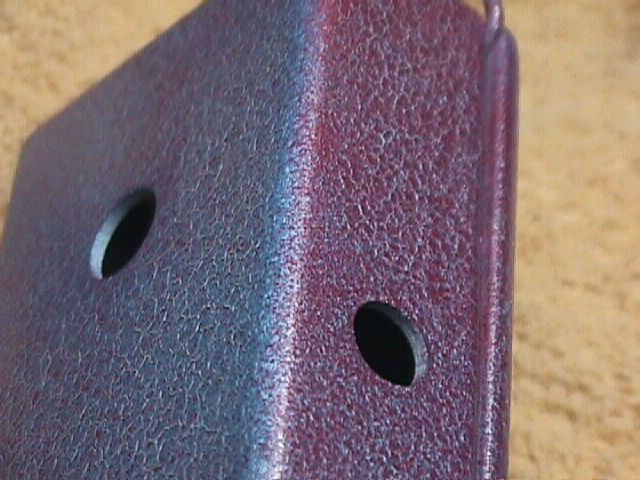 And a close up
of the blue/red one.
And a close up
of the blue/red one.
The end result is that Daddy's got a brand new... um... Austin Treble Blaster!! All it needs is decals and a final clear coat.
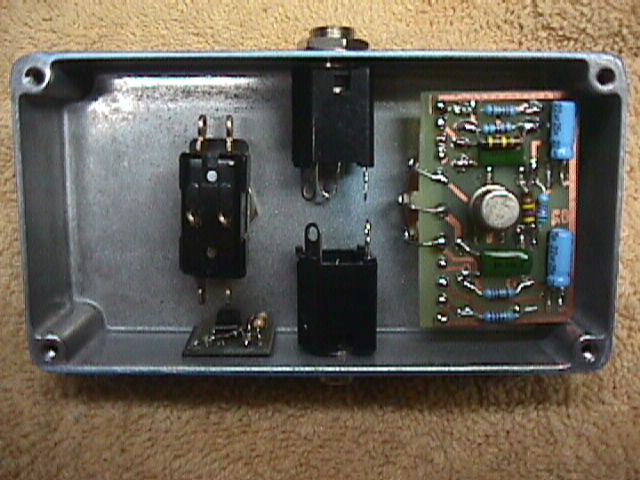
Here's the box with the latest rev of the Millenium 2 indicator board.
And a peek inside. The ATB board at the right is a new style for this Dallas Rangemaster clone. It's designed to have the components mounted on the copper side, leaving the non-copper side completely bare. The board is mounted to the single pot with a pad of double-sided sticky and wired directly to the pot. The jacks and stomp switch are standard. You can see the Mill2 board mounted. The M2 is also fully single surface, and has an adhesive pad on it to stick to the side of the box. A little bit of wire, and we're abusing tube amp inputs again!